How to Create Stunning Designs with Canva for Beginners
Sophia Collins
Subscribe to our newsletter
Get the latest updates, insights, and growth tactics from AddGuestPost in your inbox.

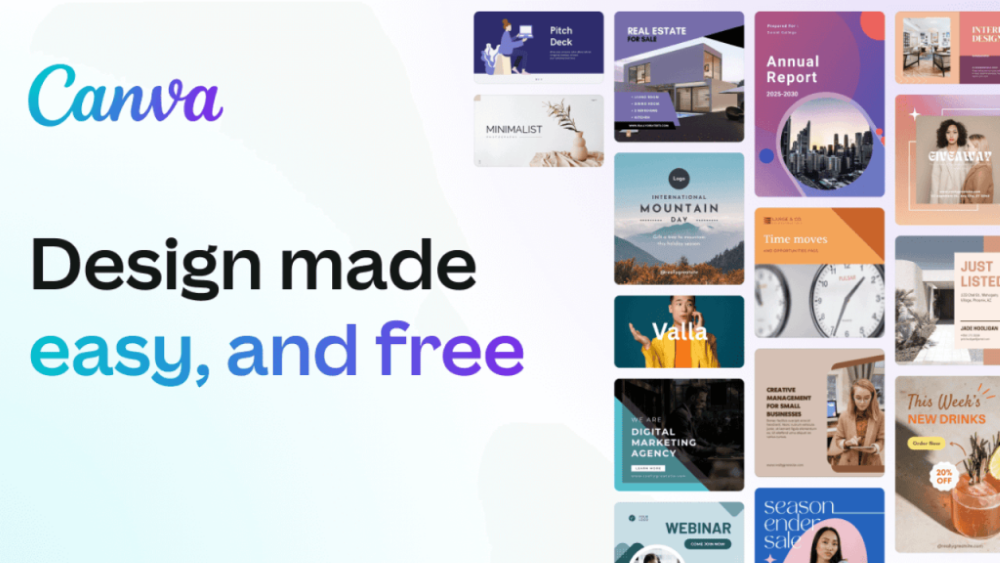
Canva has revolutionized the way we create graphics. What once required professional design software and years of experience is now accessible to everyone, thanks to Canva. Whether you’re designing social media posts, presentations, or marketing materials, Canva offers an easy-to-use platform to bring your creative ideas to life. In this blog, we’ll walk through how to use Canva for beginners and create stunning designs without needing any design expertise.
Getting Started with Canva
Before diving into design, let’s start with how to create an account and get comfortable with Canva’s interface.
- Create an Account:
Visit canva.com and sign up for a free account using your email, Google, or Facebook account. Canva also offers a paid “Pro” version with additional features. - Choose Your Design Type:
Once you’re logged in, Canva gives you a variety of templates based on the design type you need. You can choose from options like:- Social media posts (Instagram, Facebook, Twitter)
- Presentations
- Flyers and posters
- Business cards
- Blog graphics Choose the design format that best suits your project.
- Explore the Canva Dashboard:
The dashboard is user-friendly, with an easy-to-navigate design editor. On the left, you’ll find options like:- Templates: Pre-designed layouts to get you started quickly.
- Uploads: Where you can upload your own images and logos.
- Elements: Shapes, illustrations, icons, and more.
- Text: Add text with custom fonts and styles.
Designing with Canva: A Step-by-Step Guide
Now that you’re familiar with the interface, let’s dive into the actual design process.
- Select a Template or Start from Scratch:
Canva offers hundreds of templates, but if you want full creative control, you can start from a blank canvas. To get started, choose a template that fits your needs (e.g., an Instagram post). If you’re starting from scratch, set custom dimensions depending on where you’ll be using the design. - Customize Your Template:
Once you’ve chosen a template, you can begin customizing it. Here are some basic design tips:- Replace Text: Click on the text elements to edit or replace the default content. You can change the font, size, and color using the text toolbar at the top.
- Swap Images: If your template includes images, you can replace them with your own by uploading them from your device or dragging them directly into the design.
- Adjust Layouts: Use the grids and frames available in Canva to align your images and text neatly.
- Use Elements to Enhance Your Design:
Canva has a vast library of design elements such as icons, illustrations, and shapes. These can add extra flair to your designs:- Icons: Add relevant icons to communicate your message. For example, a shopping cart icon for an e-commerce promotion.
- Illustrations: Use colorful illustrations to make your design more vibrant and engaging.
- Shapes: Add geometric shapes to highlight important sections of your design, like call-to-action buttons or titles.
- Experiment with Colors and Fonts:
Canva offers a wide range of color schemes to ensure your design looks professional and polished. Choose colors that align with your brand or personal style. Similarly, experiment with different fonts. Canva’s font library includes a variety of styles, from bold and modern to elegant and sophisticated. - Add Effects and Animations (for Pro Users):
If you have Canva Pro, you can take your designs further by adding animations and effects. For example, you can animate text to make it appear on the screen dynamically. This is especially useful for creating engaging social media posts or presentations.
Finalizing and Exporting Your Design
Once you’re happy with your design, it’s time to export it. Here’s how:
- Check Your Design:
Ensure all text is readable, images are high quality, and everything is properly aligned. Use the “Preview” feature to see your design in full-screen mode. - Download Your Design:
Click on the “Download” button at the top-right of the screen. You can choose from different formats:- PNG: Ideal for images with transparent backgrounds.
- JPEG: Best for photos and social media.
- PDF: Suitable for printing materials like brochures or flyers.
- Share Directly to Social Media:
Canva allows you to share your designs directly to your social media accounts. You can also generate a shareable link for collaborators or clients to review your design.
Tips for Creating Stunning Designs with Canva
- Use White Space: Don’t overcrowd your design. Give your elements space to breathe for a clean, professional look.
- Consistency is Key: Maintain consistent fonts, colors, and image styles to strengthen your branding.
- Keep It Simple: Focus on one main message or visual to avoid confusion.
Conclusion
Canva is an incredibly powerful tool for anyone who wants to create beautiful designs without needing professional design skills. Whether you’re creating content for social media, marketing materials, or presentations, Canva provides all the tools you need to bring your ideas to life. By following the steps outlined in this blog, you can start designing like a pro, even as a beginner!
Publish Your Blog on This Space
AddGuestPost.com welcomes guest bloggers to contribute content across a variety of categories. If you believe your content can bring value to our community, we’d love to have you on board!
Related Posts
How to Build a Strong UI/UX Design Process: From Research to Prototyping
Unleashing Motion Magic on the Web with Anime.js
What is Figma Sites?
5 Figma Features Every UI/UX Designer Should Know
Categories
Categories
Advertise
here
Publish Your Blog on This Space
AddGuestPost.com welcomes guest bloggers to contribute content across a variety of categories. If you believe your content can bring value to our community, we’d love to have you on board!
